27 March 2015

Sugar work

I was really exited about this course as I have never worked with sugar before. We stared with a recipe on how to make our own sugar at home. As I don't think I would be doing this at home I will not include the recipe. 

Then there were little containers with already colored isomalt. When isomalt cools it hardens so we had to chop it in little pieces and heat them up in the microwave to melt them to a point we could work with. We got the pre-warning that we should be happy if we ended up with something to bring home since it is incredibly difficult to work with isomalt. They were right. It is difficult to work with isomalt, but if you try you can always and up with something. And if it doesn't look like anything recognizable then you just call it art. 

It was fun to see the difference between the basic isomalt and the ones that were made shiny by incorporation little bit of air. Isomalt will get shiny when you fold and stretch it a couple of times. You can see the shine appearing in front of your eyes. 
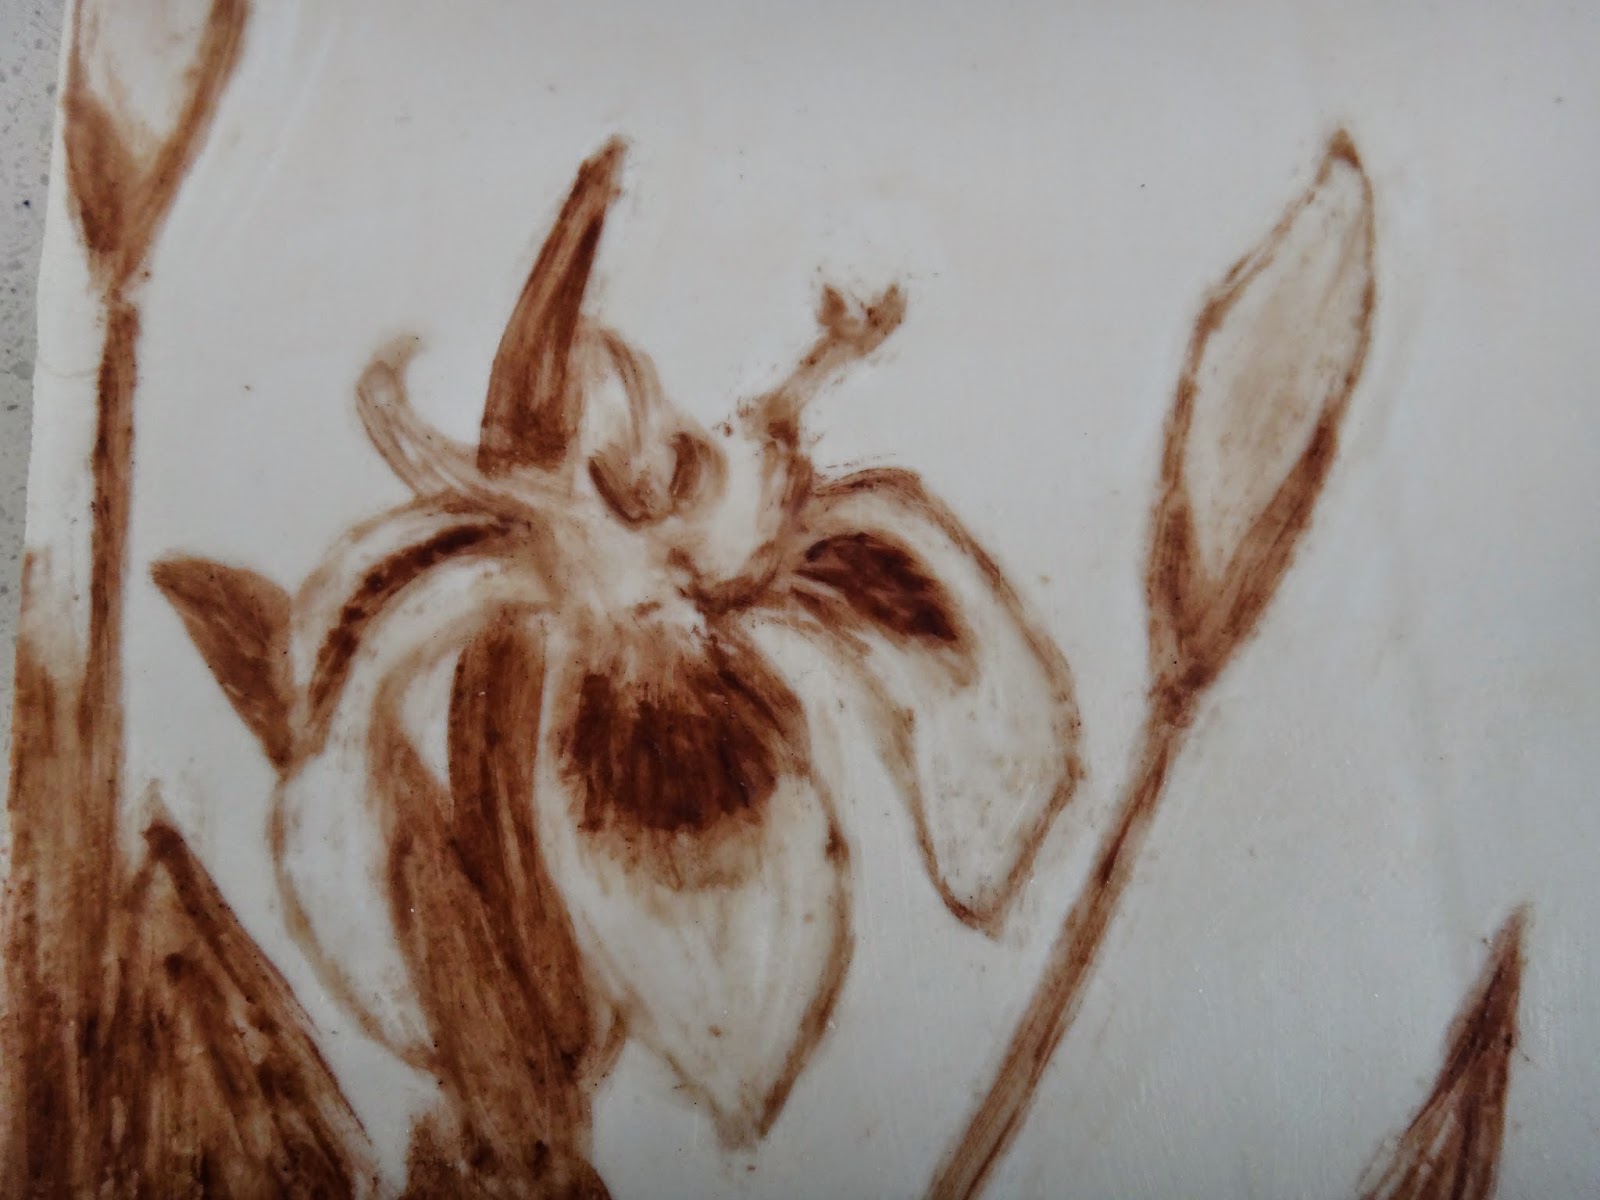
I didn't had any idea of what to make but I wanted to try and make an orchid flower. Then we had these mold in class we could use so I poured some colored isomalt in there and wait till it hardens.
I ended up with a blister making this piece, but it was fun. Unfortunately this piece of art is very fragile so when I tried to put it in a box the whole thing broke. Luckily these pictures were already taken.

Cocoa panting

In this new phase of the course we started with a visit of this old bakery all the way up in Medemblik. From the outside it looked like this small little shop, but once you are in they have plenty more room in the back. We had a little tour of the bakery and then headed upstairs for our course cocoa painting. 

The paintings were made on a piece of tragacanth. First we had to brush it with a thin layer of melted cocoa butter and after the butter dried we could get started. The cocoa powder would have to be mixed with some melted cocoa butter and then applied to the tragacanth. Just like painting with real paint, but if we would make a mistake it only takes a bit of scraping with a little knife to undo it.
We all had to bring a picture and because I didn't had one I borrowed a magazine from one of my class mates and coped the picture there on my tragacanth. 
It's not my best work because I don't really enjoy painting. I don't think I would be doing it again, but it was a nice once a life time experience. 

Two tier fondant cake

I can't believe how fast it all went. We are now at the end of this phase already. For the last day we had to fill and decorate a two tier cake using fondant and/or royal icing. Normally I would look online to get some inspiration, but this time I decided to just wing it.
I loved the peacock feather stencil I used earlier so I wanted to use it again. Since the top layer of my cake was slightly tilted like the tower of Pisa I decided to make curtains to cover it up. And to use the peacock stencil to make the curtain look pretty. And to hide all the imperfections and to give it more height I wanted to make a big bow ribbon on top. 

For the bottom layer I wanted to keep it sort of plain since there was so much going on on top already. As I couldn't leave it plain I used a flower mold to make different shapes of flowers in different colors. 

I have to say I am very pleased with the result. It was a lovely cake and very tasty to eat as well since I filled it with orange liqueur flavored butter cream and apricot jam. 

19 March 2015

Fondant bows & ribbons...and animals

Today we again could work on a real cake. We started with making butter cream. I just love butter cream. Especially with a bit of alcohol in it =)
The combination of orange liqueur and apricot jam is just heavenly.

After filling the cake with butter cream, cooling it in the fridge it was time to cover it with some fondant. As we were free in the design of the cake I decided to take it easy. As you notice most of my cakes are white or blue or a combination of both so this time I wanted to use a different color. As this cake was a potential male birthday cake I decided to go with green.
In between all we had a mini master class on how to make bows and ribbons and animals from fondant. It turns out to be pretty easy. For the bows we used a mold and the ribbons were as easy as putting two end of a rectangle together. The animals were made with either a piece of round fondant or a drop shaped fondant. And the trick of making the eyes is actually to stand behind the animal and then draw the eyes with a piece of black edible
color.
I used a stencil and some edible green dust to make the decorations on my cake. I used a different stencil for the top and with a crimper I tied the top and sides together. 
Then I stared making the ribbons. To give it a bit more contrast I got some yellow/green fondant from one of the other students and put that as the inside of the ribbon. As the separate pieces of the ribbon has to dry I made a curtain to cover the seam. 
To make it stand out more I used a stencil to make a pattern. 
After the ribbons were dry I put them on a piece of round fondant (in the same color) and started to put the bow together. 
I didn't want to put to many animals on it so I made two mice with a piece of cheese and add them to the cake. They were actually there to cover up some of the not so pretty parts of the cake.

In the end the cake was devoured by my family members and I ended up making petit fours for the birthday boy!

15 March 2015

Stenciling and painting fondant

I'm always exited to work on a real cake. This lesson was about using stencils, powdered color and making curtains and drapes. 
Stencils can be used in two ways; either with royal icing or with powdered color. If you use it with icing then all you need to do is put the stencil on your fondant and use a spatula or a scraper to spread the icing in the stencil. 
If you wish to use a powdered color then you need to put your stencil under your fondant, lightly move your fingers over the fondant so you kinda rub the fondant in the stencil. Then you turn the fondant around and use a paint brush to color the stencil. 
For making curtains all you need is some straws or chopsticks or anything that is round. You roll out the fondant, stick the straws under it, press it together and then get the straws out. 

The flowers were made using a silicon mold. Very fast, fun and effective. I used some blue colored powder to give them a bit more shine. 


I just loved the peacock feather stencil. I used it for the top of my cake and for the drapes and curtains.

Frilling fondant

Today we were practicing a new technique: frilling. Frilling is basically making ruffles using the bulp tool. For making ruffles you need fondant that can take some rough handling. So the basic fondant has to be mixed with some tylo powder to make a 50% mixture. For an 100% fondant mix I used 250 grams of fondant mixed with 4 gram of tylo powder. This can be mixed with 50% basis fondant to get an 50% mixture or you can take 250 grams of fondant and mix it with 2 grams of tylo powder. 
For the ruffles we used the garrett frill cutter. This is an oval cutter and if you open the oval up you will get some ruffles already but to make them extra pretty the bulp tool is used to thinner the edges and make it more wavy

This time we used a dummy cake for practicing the technique. We also baked a real cake for next weeks lesson. 
I stared with coloring the fondant and rolling it out big enough to cover the sides of the dummy cake. Then I used a mold to make a pretty pattern.
I also covered the top of the dummy and used a crimper to add the sides together. For the decoration on the top I used different molds to give it a nice effect. 

Then it was time to make ruffles. I always wanted to make an ombre cake. This is a cake with different shades of the same color. I stared with a dark blue ruffle and to the fondant I had left I add the same amount of white fondant. Then I made another ruffle and add the same amount of white fondant to the left over fondant. This went on for 5 times. The effect was very pretty, but the different shades were not that easy to see. So next time I would add two times white to one time color. 
I also made a curtain to cover the part where the fondant came together. As you can see I had no clue how to make a curtain yet.

I had lots of fun making this cake, but the ruffles takes a lot of time to make.