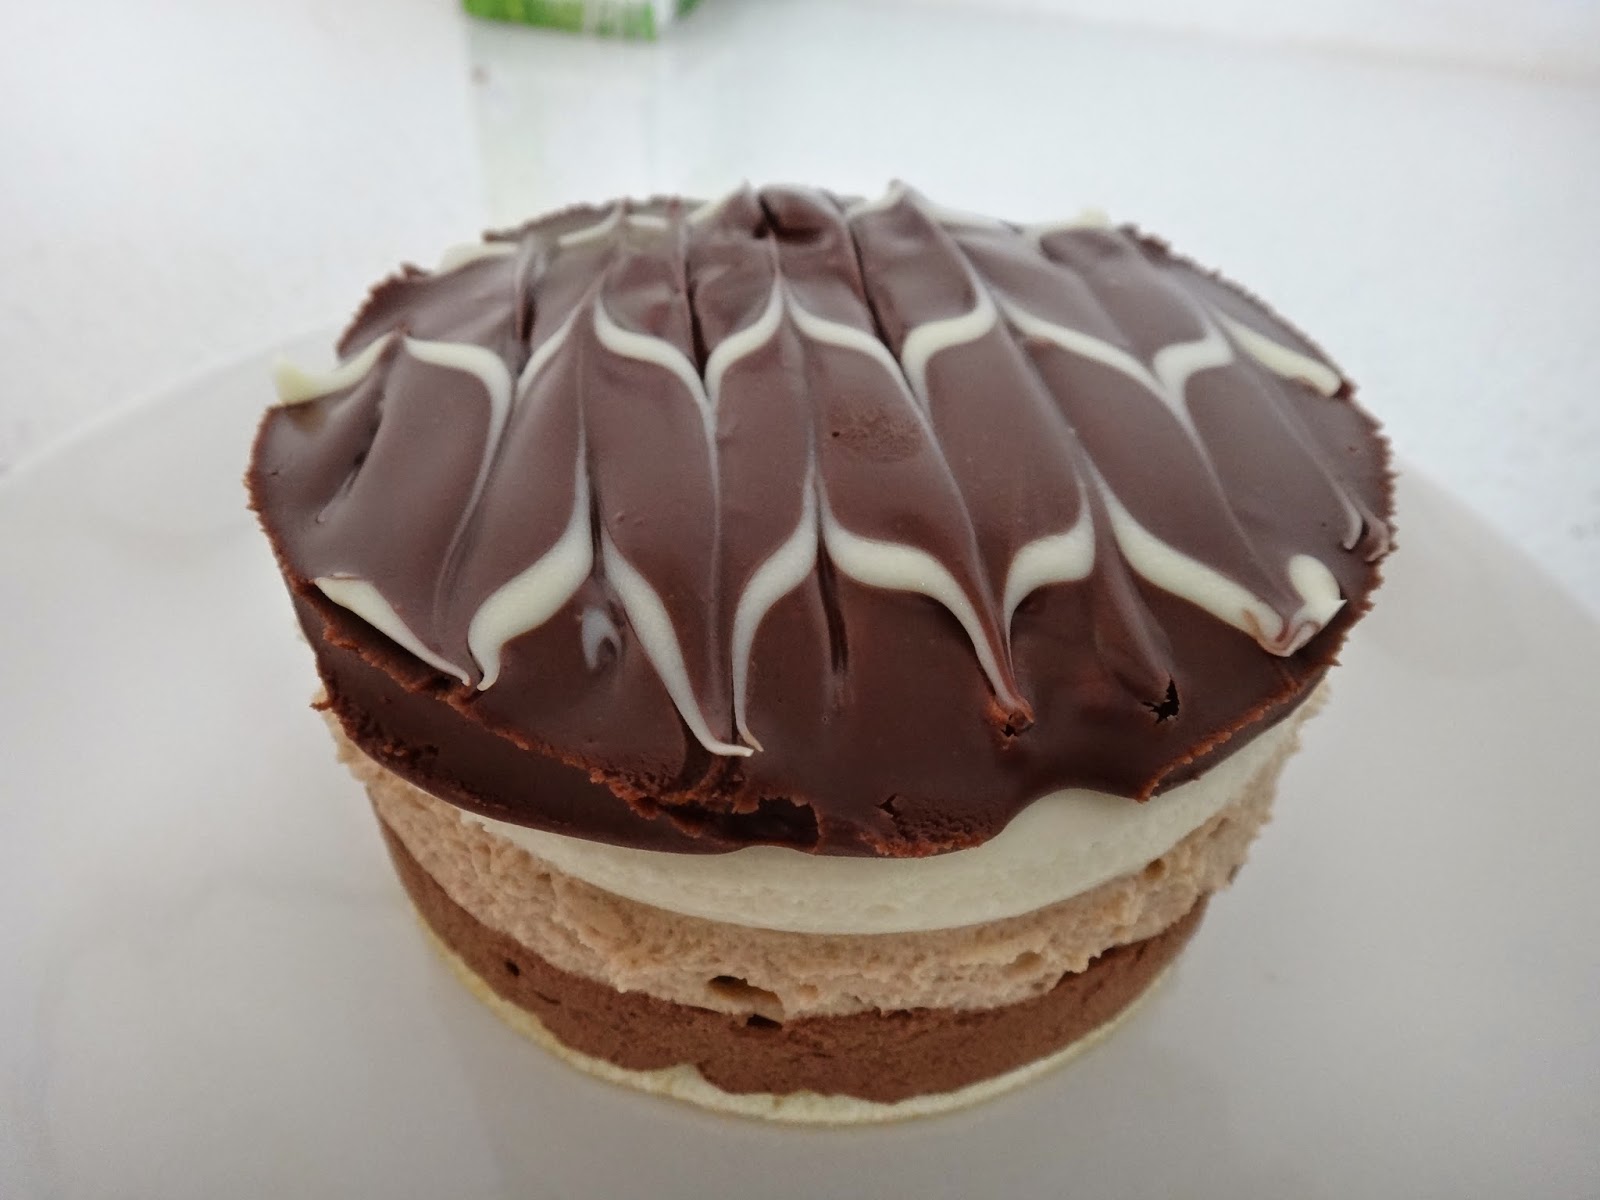
At the end of last weeks class we were told that we would recreate this cake made up by Rudolph van Veen (a well known Dutch chef and patissier) for the Oscars in 2005 hence the name Oscar cake. We would only get the recipe and had to figure the rest out ourselves. Luckily we could watch Rudolph make the cake online so the smart ones (like me hahah) did that. I even went beyond that by testing the recipe at home first.
His recipe was for 2 cakes, but since I'm just testing the recipe I only used half the recipe. As this cake is build up in layers the recipe will be as well.
For the almond cake layer I used:
- 58 gr almonds
- 58 gr sugar
- 75 gr eggs
- 50 gr egg white
- 7 gr sugar
- 10 gr melted butter
- 12 gr flour
oven temperature 220C
First I grounded 58 grams of almonds with 58 grams of sugar. Then I beat the egg white with 7 grams of sugar till it had soft peeks. To the almond mixture I added the eggs, the melted butter and the flour and fold this into the egg whites.
I spread the mixture on some baking paper and baked it in the oven for 10-12 minutes. After that I took it off the baking tray, pulled the baking paper off and let it cool.
For the coffee syrup I used equal part of coffee and sugar and added a dash or two coffee liqueur.
The original recipe called for 1 cup of coffee and 1 cup of sugar, but this is way to much for this recipe so I made just enough to dip the almond cake in.
For the caramelized hazelnuts I used:
- 25 gr sugar
- 15 gr butter
- 50 gr hazelnuts
If you heat the sugar and the butter on low temperature you can put both in a pot at the same time. When the mixture has a caramel color you can add the hazelnuts. If you melt the butter first and then add the sugar you will not be able to mix it all together for a nice caramel so the proper way to do it is to melt the sugar first. When that browns add the butter and mix it before you add the hazelnuts.
I poured this mixture on some baking paper to let it cool. When it cooled I chopped them in rough pieces.
For the cake I used 4 cake molds of 9 cm and there was enough left for 2 smaller cakes, which I don't know the size of.
With the cake molds I pressed out the bottom of the almond cake and a smaller piece for in the middle. Both pieces of cake were then brushed with the coffee syrup. On the bottom I sprinkled some chopped caramelized hazelnuts.
Now for the chocolate mousse layer I used:
- 63 gr water
- 63 gr sugar
- 125 gr pure chocolate
- 75 gr egg yolk
- 3 sheets of gelatin soaked in water
- 450 gr whipping cream whipped to soft peeks
In the movie Rudolph just boiled the water and sugar and added that to the egg yolk whisking it till it was fluffy. So that's what I did at home and it worked somewhat ok.
In class we were told to heat the water and sugar till 121C and then added it to the yolk. The first time we did it,we tried to whisk it by hand but the sugar clumped together so it didn't work. The second time we used the stand mixer and slowly added the syrup which resulted in a very fluffy mixture. However we didn't heat the syrup to 121C. I think it was only a bit higher then 100C.
Then I melted the chocolate and melted the gelatin sheets. To the egg mixture I mixed in the chocolate, the gelatin and fold this into the whipped cream.
I filled half the cake molds with the mouse, put a layer of almond cake in the middle and filled it up till the rim. After I did this with all the molds I put them in the freezer. The cakes will have to be frozen when I pour the chocolate glaze on. With bigger cakes it can take a whole day, but since I made small ones, it only took a couple of hours.
For the chocolate glaze I used:
- 140 gr water
- 180 gr sugar
- 130 gr whipping cream
- 60 gr cocoa powder
- 3 sheets of gelatin soaked in water
In a pan I put all the ingredients (except for the gelatin) and let the mixture cook for about 10 minutes. It is ready when the back of your spoon is well coated. Then I added the gelatin and mixed it well so the gelatin dissolves. This mixture has to be brought back to around 35-40C before I could pour it over the cakes.
To get an evenly cover it is important to pour the glaze on the edges of the cake and not in the middle. Since the cakes are frozen the glaze will immediately set.
Then it is possible to decorate the cake with whatever you want, but since I want the decoration to match the inside of the cake I used some grounded caramelized hazelnuts. It's also a good way of masking the rough edges on the bottom of the cake.
It was a great experience making this cake. I have all kinds of idea's on how to make a spin off using these techniques. But first I have to come up with 4 different kinds of friandises for next class.
The end of the first phase was marked with a big bang. Here I was thinking that we would be making a chocolate cake. Turned out we made a very decadent triple chocolate mousse cake.
We started with making a biscuit like batter for the bottom of the cake:
- 2 eggs
- 2 egg yolks
- 2 egg whites
- 100 gr sugar
- 55 gr flour
Just as with the biscuit batter we started with warming the 2 eggs and the 2 egg yolks with about 80 grams of sugar. When it reached about 40C we mixed it on high speed till the color changed to almost white. Then we slowly incorporated the flour.
In a different bowl we beat the egg whites with the rest of the sugar till they form soft peaks. We added the egg whites directly to the egg yolk batter and it was very hard to incorporate it. Next time we should mix a bit of egg yolk with the egg whites first to loosen it up a bit and then mix the rest in. Luckily it went well and we spread a thin layer of batter on the, with baking paper covered, baking tray. We baked it for about 6 minutes till golden.
After we took the biscuit out of the oven we sprinkled a thin layer of fine sugar on the bottom of another tray, flipped the biscuit and slowly pulled off the baking paper. If we would leave it on the baking tray the biscuit would continue to cook and dry out. Now we had a nice and flexible biscuit. We left it cooling off while we started with the chocolate mousse.
This chocolate mousse only has 2 ingredients: chocolate (of course) and whipping cream. I've made chocolate mousse at home before but somehow this chocolate mousse tasted much better. It must be the chocolate they used.
All we did was whipping up the cream, just till it thickens and then incorporate the chocolate. So we added the chocolate to the whipped cream and not the other way around. If we would add the whipped cream to the chocolate it would become hard and not mousse like at all. So always add the chocolate to the whipped cream!
We started with a layer of pure chocolate, then milk chocolate and last the white chocolate and if that wasn't decadent enough we topped it off with some chocolate ganache.
It was extremely difficult to make neat identical layers of mousse because we made one batch for 2 cakes and the mall we used wasn't see through so we had no idea how it would look like. I know it looked a bit messy, but the flavor was awesome and the whole family enjoyed it.
We even had enough mousse for a mini triple chocolate mousse cake. The mini cakes were too die for and enough for two, if one of the two doesn't like chocolate that is.
From the left over biscuit we formed a log which we filled with mocha whipped cream and topped with some shaved almonds. We had some ganache left so we spread a thin layer on the inside before putting whipped cream in. It almost look like a real log, a real tasty log.
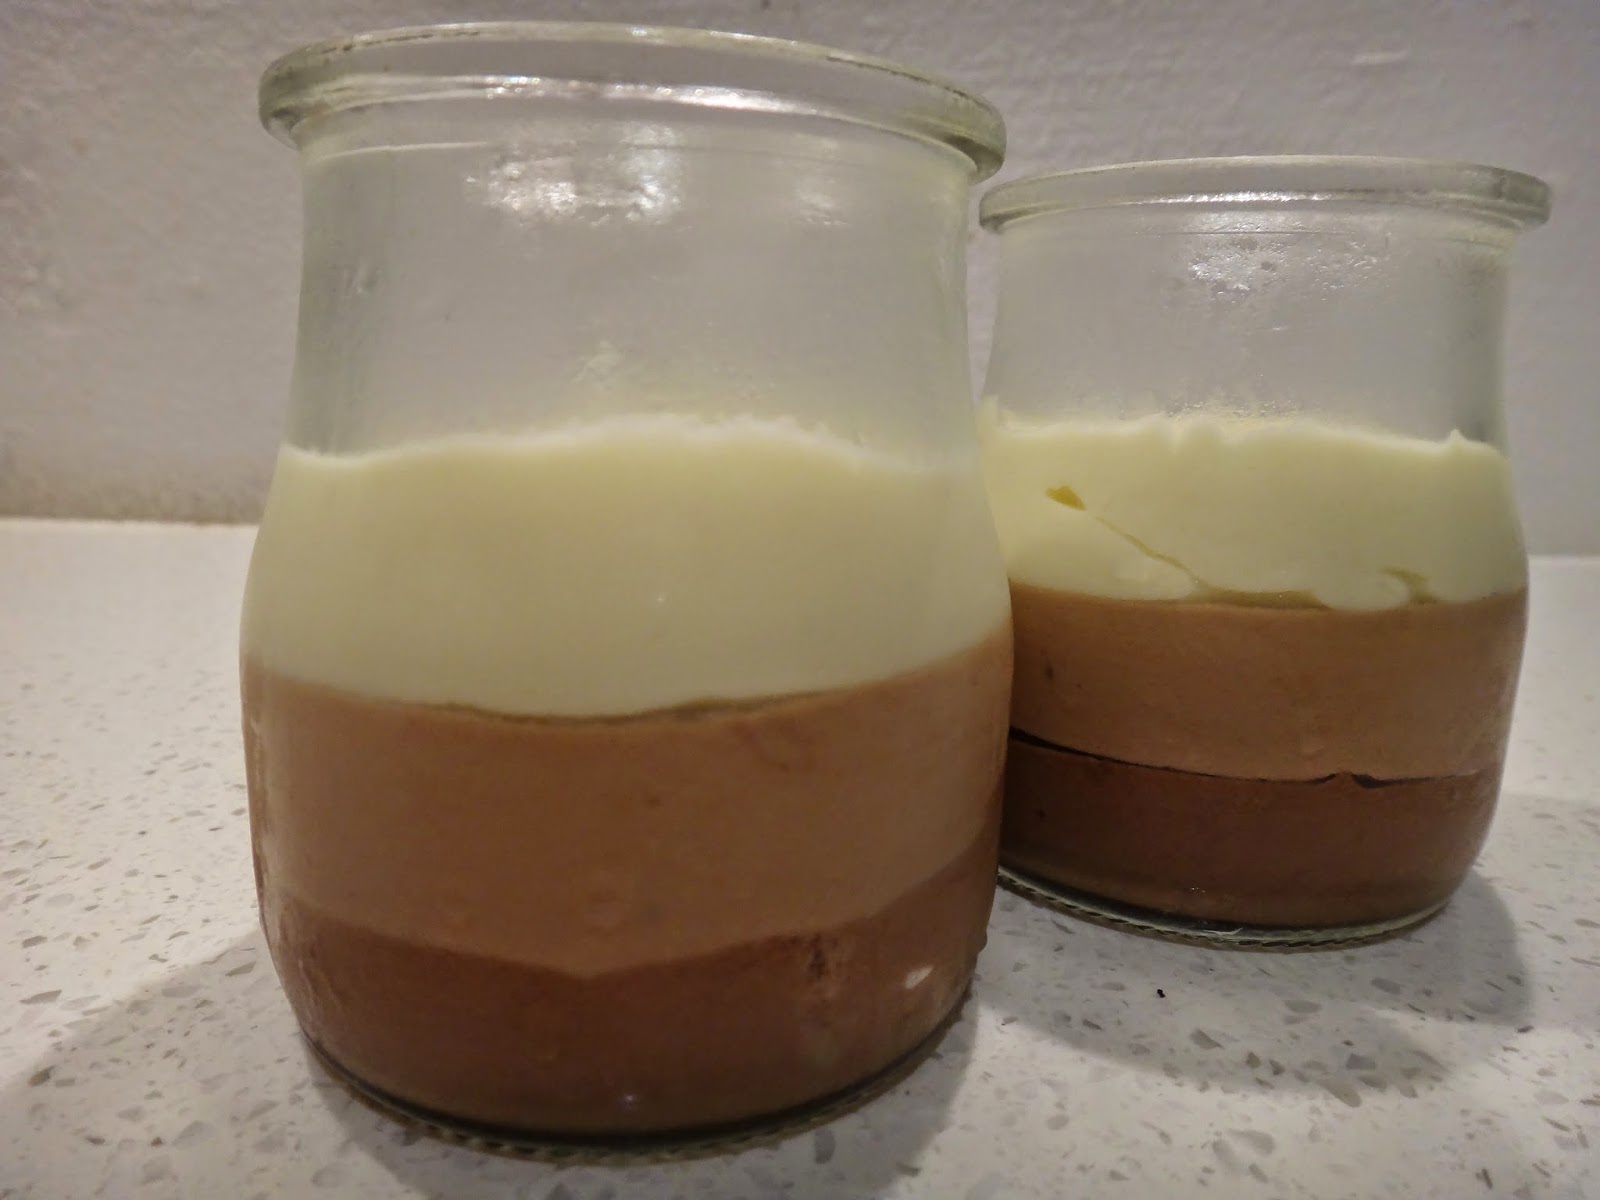
At home I made triple chocolate mousse in a jar. As I only made enough for 3 mini jars I didn't bother making the biscuit bottom.
I used: For one chocolate mousse cake:
- 30 gr pure chocolate - 150 gr pure chocolate
- 40 gr whipping cream - 200 gr whipping cream
- 35 gr milk chocolate - 175 gr milk chocolate
- 40 gr whipping cream - 200 gr whipping cream
- 40 gr white chocolate - 200 gr white chocolate
- 40 gr whipping cream - 200 whipping cream
Of course this recipe can be double or tripled.
After each layer I would put the jars in the freezer so they could get firm enough for the next layer. After the last layer I covered them with plastic foil and kept them in the freezer. They were the perfect 4 o'clock work break snack.
Next week: the chocolate saga continues, 5 weeks long...