Showing posts with label sugar. Show all posts

21 April 2015

Croquembouche and sugar eggs

Day 27 of the course was divided in two parts, one part making a croquembouche and the other part was for sugar eggs. 

For the croquembouche we had to make enough profiteroles/cream puffs to cover a cone. The recipe we used for it was:
- 250 gr butter
- 500 gr water
- 250 gr flour
- 500 gr egg (or as much as needed to get the right dough consistency)
oven temperature 225C till they are done puffing up then lower it to 175C so the inside can "dry"

This recipe is enough for two "little" croquembouches. I started with cubing the butter and bring it to a boil with the water. Once the water boils and the butter has melted I took the pan of the stove and added all the flour and mixed it as well as I could. Then I put the pan back on the stove so I could "cook" the dough. Once there is a shiny layer on the dough, I put it in my stand mixer and mixed it with my flat beater till it cooled down enough for me to add the eggs one by one. Depending on how much water evaporates when the water cooks and the dough cools down, you might need more or less eggs. The last two times I made profiteroles I used about 8 eggs. The dough is ready when the mixture is slowly gliding off the flat beater.

Then I scooped the dough in a piping bag and piped some on baking paper. Then they went into the oven and when I thought they were done puffing up I lowered the temperature. After a while I took one out of the oven, broke it in two and inspected the inside to see if it was cooked enough. When they were ready I let them cool first before I punched a hole on the bottom. So while the profiteroles were cooling down I had time to whisk up some whipped cream with a bit of sugar and vanilla. 
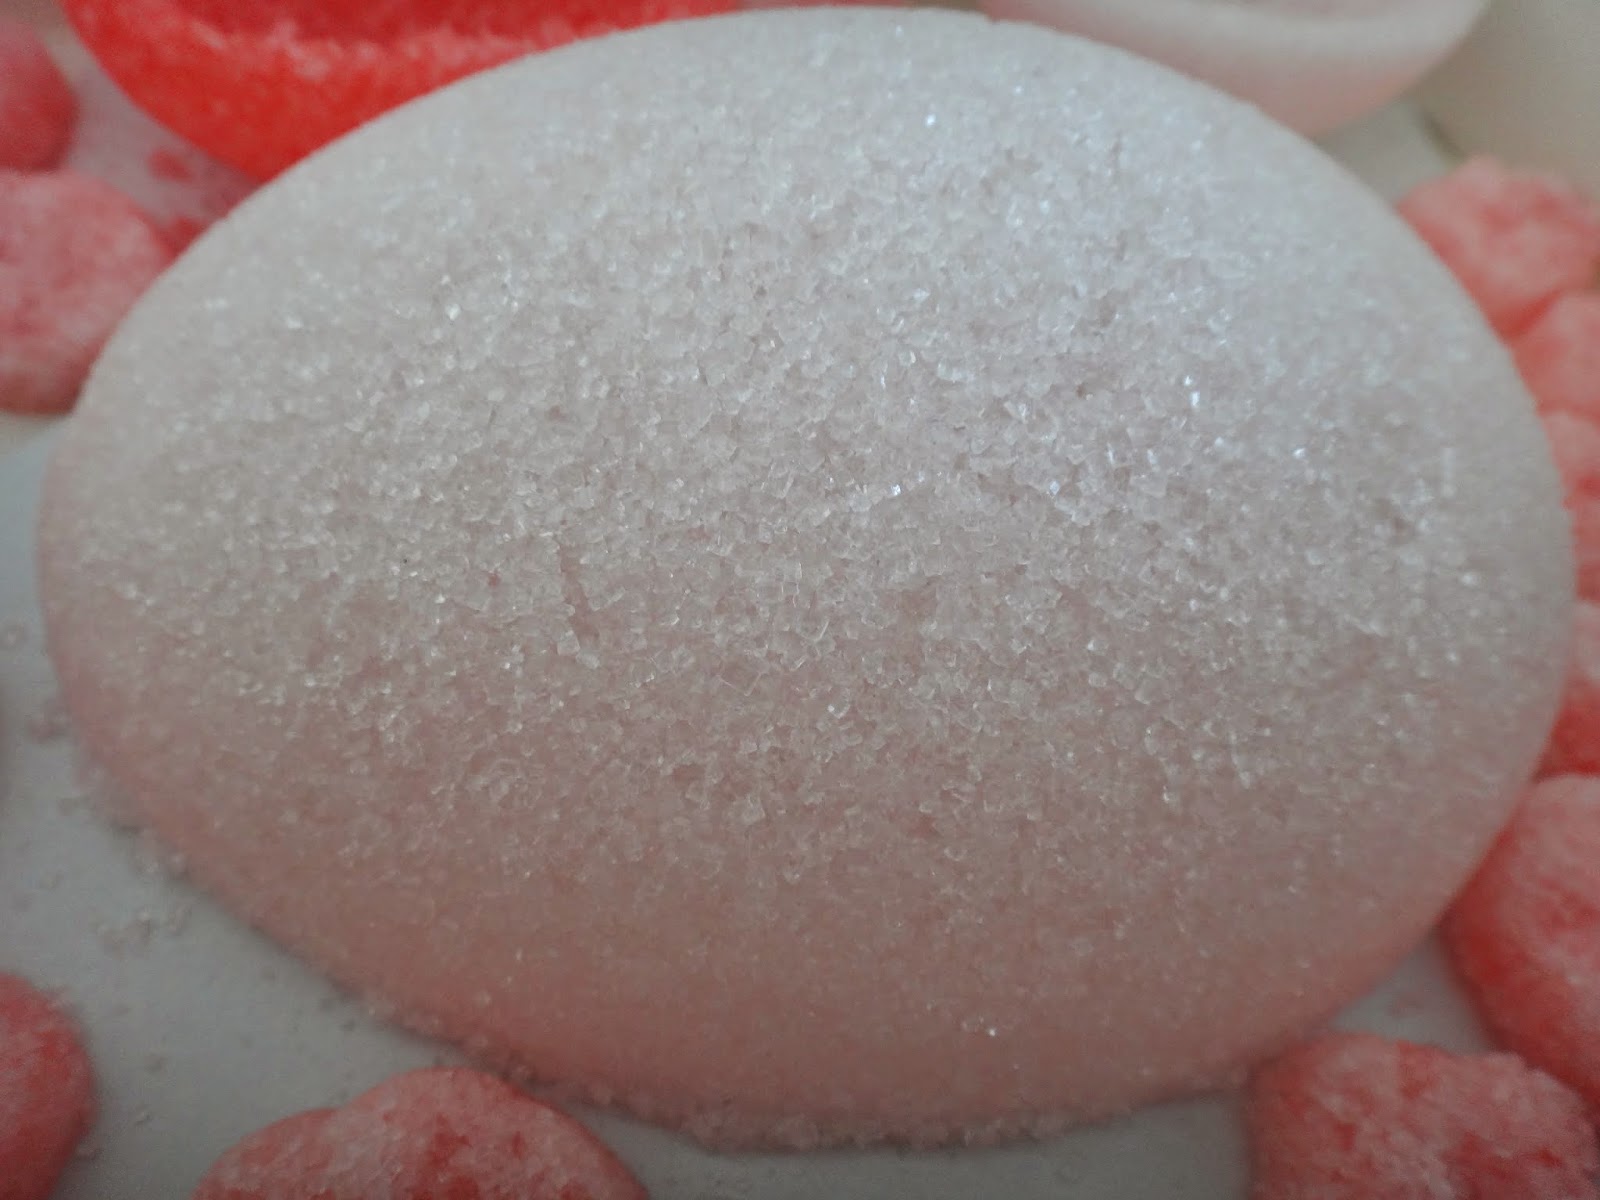
I also had time to make some sugar eggs. Sugar eggs are basically made with sugar and water. 
For a colored egg one had to color the water before adding it to the sugar. When the sugar has the same consistency as wet sand I pressed it in a mold and left it to dry. Then for a hollow egg, I scooped some of the sugar out. Of course the plan was to make pretty decorations with royal icing, but unfortunately I didn't had enough time because my eggs weren't ready. 
I also pressed some sugar in a chocolate mold. Since they were small they dried out pretty good so they kept their shape when I took them home.

So back to the croquembouche; I've got the profiteroles ready, punched a hole in the bottom and filled them with whipped cream. Then they went into the fridge to cool. 

In the meantime I melted some dark chocolate and start tempering it. This chocolate will be used to clue the profiteroles together. 

I also covered a cone loosely with some plastic wrap so when I'm done it is easier to get the cone and the plastic wrap out.
I dipped the cold profiteroles in the chocolate and stared to arrange them on the cone. I tried to fit them as well as possible, but since they all have different shapes, I had to fill in the gaps with profiterole parts. When the whole cone is covered the whole thing went into the freezer. Before we went home we slowly took the cone and as much plastic as we could out. 
The croquembouche was placed on a pretty plate and then wrapped in clear foil to make it more festive. It was a hell of a job to break the croquembouche into bite size pieces so the next lesson I only made one croquembouche and a whole bunch of cream puffs.

Day 28 was a free style day. All that we did in the weeks before were repeated and everyone got to choose what they wanted to do. 
Of course I went and made another croquembouche but since we had a hard time eating it I decided to make one and box the other cream puffs.
This time I used milk chocolate instead of dark chocolate and decorated it with some white chocolate.

My family loved them and when they requested cream puffs I can now just whisk them up. No more failures here. When I made cream puffs at home I needed about 1,5 liter whipping cream for this recipe. If I mix it with some crème pâtissière then the ratio is 50% whipped cream and 50% crème pâtissière. 

27 March 2015

Sugar work

I was really exited about this course as I have never worked with sugar before. We stared with a recipe on how to make our own sugar at home. As I don't think I would be doing this at home I will not include the recipe. 

Then there were little containers with already colored isomalt. When isomalt cools it hardens so we had to chop it in little pieces and heat them up in the microwave to melt them to a point we could work with. We got the pre-warning that we should be happy if we ended up with something to bring home since it is incredibly difficult to work with isomalt. They were right. It is difficult to work with isomalt, but if you try you can always and up with something. And if it doesn't look like anything recognizable then you just call it art. 

It was fun to see the difference between the basic isomalt and the ones that were made shiny by incorporation little bit of air. Isomalt will get shiny when you fold and stretch it a couple of times. You can see the shine appearing in front of your eyes. 
I didn't had any idea of what to make but I wanted to try and make an orchid flower. Then we had these mold in class we could use so I poured some colored isomalt in there and wait till it hardens.
I ended up with a blister making this piece, but it was fun. Unfortunately this piece of art is very fragile so when I tried to put it in a box the whole thing broke. Luckily these pictures were already taken.

30 November 2014

Cake decoration

Today it was all about making flowers and decoration with royal icing. Every day so far has started with making a batch of royal icing. From this basic mixture you can make it thicker by adding more powdered sugar or to make it more runny by adding more liquid. 

We had to use royal icing to mask a cake, meaning that the royal icing has to cover the top and the sides. For practice we all had our dummy cake and since the royal icing has to be a bit thicker for masking the cake we put just enough powdered sugar to make it the similar consistency of Greek yogurt. 

We started with putting some royal icing on the top and with a spatula we evenly smeared it out by turning the cake around. Then it was time to do the sides. We used a dough scrapper to make it all look smooth. It looked pretty easy but it was harder then I thought. I am confident that, with a little more practice, it would look much better.
Then it was time for royal icing roses and other flowers. For this the royal icing had to be as thick as concrete. Or at least thick enough for the petals to keep its shape.
At the end of the day this was the result. Next week we'll be decorating a real cake!

23 November 2014

Color flow icing

I have to say that I wasn't a big fan of royal icing. That was before I knew what possibilities there were. This class totally changed me.

We were asked to bring a picture of whatever we liked in two fold. One was to work on and the other one was for comparison. 

The class started with an explanation of how to transform royal icing to color flow icing. Basically what you do is you make your basic royal icing, mix it with the color of your choice and use lemon juice, liquor or water to make it thinner.  
We started with practicing on cookies, just to get the feel of it. 
We used several colors, mixed it with lemon juice and liquor and let our creativity flow. They turned out very pretty. The icing was still wet and shining. After it dried the colors would be a bit darker and not glossy anymore, but still pretty.

After practicing on the cookies it was time for the real deal; our pictures. 
As Christmas is around the corner I picked a picture that would fit in perfectly. This took me almost a whole day to make but it's true when they say "practice makes perfect", because the second one I made only took me half an hour or so. I finished right before class ended. It also helped that I could borrow some left over colors from other people. Unfortunately I didn't make a picture of the second one and both of them are in class waiting for me. Can't wait to put on the last details. 

Royal icing

Day 10 was the start of a new phase; Royal Icing. I have never made or worked with royal icing before, but basically it is egg whites, powdered sugar (suikerbakkerspoeder= powdered sugar with dried glucose) and a pinch of cream of tartar. It's been used a lot for decorating cakes and cookies. While working with royal icing it has the consistency of very thick yogurt. But after it dries out it gets really hard.  

We started with a masterclass on royal icing and were showed how to make it and what the right consistency is. From this basic mixture it is possible to make the icing more or less runny simply by adding water (or liquor) or more sugar. 

After receiving a lot of information we used the rest of the day playing around with royal icing. We used:
- 180 gr pasteurized refrigerated egg whites
- about 1 kilo shifted powdered sugar
- pinch of cream of tartar

To the egg whites we added 2/3 of the powdered sugar and the cream of tartar. On very slow speed using the flat beater we mixed everything together. Then after that spoon by spoon we added some more powdered sugar till the icing has the right consistency. The right consistency is when the icing on the beater forms a nice peak that is flexible enough to still move back and forth.    

We used several different piping tips making borders, flowers and anything we could think off. We also made some colored icing. 

I practiced a lot on flowers and leaves.
It was a bit of a slow day with lots of information and a bit of piping practice. It didn't feel like we did a lot, but I manage to make this. 

This day was purely to let us practice with icing and get the feeling of it.